Building an iron farm Minecraft can transform your gameplay. Imagine this: you start your adventure with nothing but a few tools and a dream. As you gather resources, battling mobs and exploring vast terrains, you stumble upon an idea that could change everything—an iron farm! The thrill of envisioning a self-sustaining source of iron is irresistible.
Iron is a fundamental resource in Minecraft. It’s used for crafting tools, armor, and various mechanisms. Having a steady supply can elevate your game, making you a force to be reckoned with. This guide will take you through everything you need to know to create your very own iron farm, ensuring you’re well-equipped to dominate your Minecraft world.

What is an Iron Farm Minecraft?
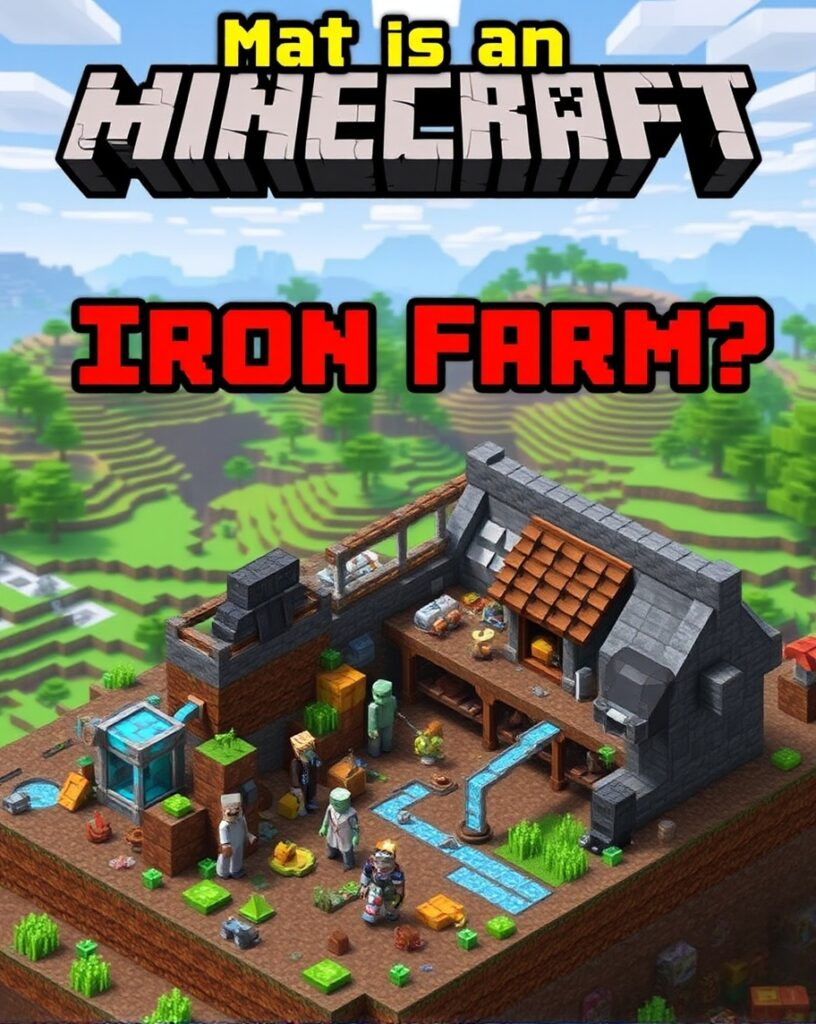
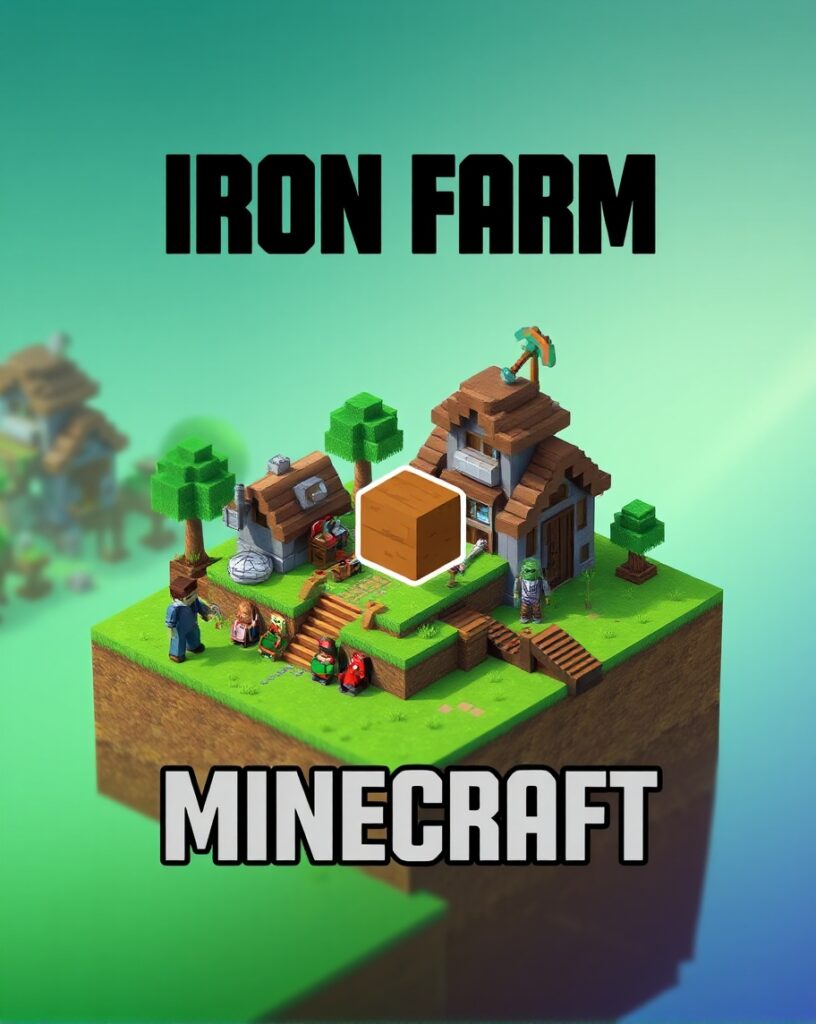
An Iron Farm Minecraft is a mechanism designed to generate iron ingots automatically. It takes advantage of the spawning mechanics of iron golems. When built correctly, you can create a farm that produces iron without the need for constant player involvement.
Why Build an Iron Farm?
Building an iron farm is essential for several reasons:
- Resource Efficiency: Iron is used for a variety of essential items. Having a farm means you can save time and resources.
- Automation: The beauty of Minecraft lies in its mechanics. Automating iron production allows you to focus on other projects.
- Trade: Villagers love iron! By trading iron with villagers, you can acquire various items, including enchanted gear.
Now, let’s dive into the specifics of building your very own iron farm.
Step 1: Gathering Materials
Before you embark on your iron farming journey, you need to gather the right materials. Here’s a quick list of what you’ll need:
- Building Blocks: Cobblestone, stone bricks, or any solid blocks.
- Villagers: At least three villagers to spawn iron golems.
- Zombie: A zombie to scare the villagers (yes, it sounds cruel, but it’s essential!).
- Water Buckets: For creating a water flow system.
- Beds: To give villagers a place to sleep.
- Trapdoors: To manipulate the movement of the golems.
- Hoppers: To collect the iron drops.
Where to Find Materials?
While gathering these materials, consider exploring caves for stone and iron ore. Villagers can be found in villages, and zombies are commonly found in darker areas.

Step 2: Choosing a Location
Choosing the right location for your iron farm is crucial. You want to build away from villages to ensure that the golems spawn only in your farm. Here are some tips:
- Flat Terrain: A flat area makes building easier.
- Distance from Other Villages: This will prevent competition for iron golem spawns.
- Accessibility: Ensure that the area is easy to reach for maintenance.
Step 3: Building the Farm
Now for the exciting part—building your iron farm!
Basic Structure
- Foundation: Start by laying out a 5×5 area using your building blocks. This will serve as the base of your farm.
- Villager Platforms: Create a small platform above the foundation where you will place the villagers. This platform should be at least two blocks high.
- Zombie Chamber: Build a small chamber to house the zombie. Ensure it’s enclosed but has a way for the villagers to see it.
- Beds and Workstations: Place the beds and workstations on the villager platform. This encourages them to claim their spots.
Creating the Golem Spawn Area
- Water Flow: Create a water flow system around the villagers’ platform. This should direct any spawned golems towards a killing chamber.
- Trapdoors: Place trapdoors around the edges of the farm to create a fall effect for the golems. They’ll fall into the killing chamber below.
- Killing Chamber: Design the chamber to have a collection system using hoppers. This is where the iron will drop after the golems are defeated.
Step 4: Activating Your Farm
With everything built, it’s time to activate your iron farm!
- Introduce the Zombie: Carefully place the zombie in its chamber. Make sure it’s visible to the villagers.
- Check Villager Workstations: Ensure that the villagers are using their workstations and beds. This will help them maintain their status and keep the farm running.
- Test the Farm: Give it a few minutes and watch as the iron golems begin to spawn. If everything is set up correctly, you should see them falling into the killing chamber.
Step 5: Maintaining Your Iron Farm
Even the best iron farms require maintenance. Here are a few tips to keep yours running smoothly:
- Regular Checks: Make sure the villagers are still alive and functioning. Sometimes, they can get stuck or wander off.
- Zombie Maintenance: Ensure your zombie remains in its chamber and is visible to the villagers. If it dies, you’ll need to replace it.
- Empty Hoppers: Regularly check and empty your hoppers to avoid overflow.

Troubleshooting Common Issues
Sometimes, things don’t go as planned. Here’s how to tackle common issues:
- Golems Not Spawning: Check the area for other villages. Ensure your villagers are active and the zombie is visible.
- Items Not Collecting: Make sure hoppers are placed correctly and are not blocked by other blocks.
Frequently Asked Questions
What is an iron farm Minecraft?
An Iron Farm Minecraft is a contraption designed to generate iron ingots automatically by exploiting the mechanics of iron golem spawning. It typically involves creating a specific environment that encourages iron golems to spawn and then using various methods to collect the iron drops.
What materials do I need to build an iron farm?
Common materials include building blocks (like cobblestone or stone), beds for villagers, workstations (such as a composter or smithing table), water buckets for collection, and some sort of killing mechanism (like lava or a trapdoor).
How many villagers do I need for a basic iron farm?
Most basic iron farms require at least three villagers to work effectively. They should be placed near beds to ensure they can become “workers” and trigger iron golem spawns.
What is the best location for an iron farm?
The ideal location is a flat area away from other villages and structures, ideally at least 128 blocks away from other spawning areas to ensure optimal iron golem spawning rates. Building the farm high up can also help.
How can I maximize the efficiency of my iron farm?
To maximize efficiency, ensure that the spawning platform is well-designed with appropriate lighting, make use of villagers with different professions, and consider the layout to minimize wasted time for golems to reach the killing mechanism. Regularly check for obstructions that could affect spawn rates.
Conclusion
Creating an iron farm Minecraft can be one of the most rewarding projects you undertake. It not only enhances your resource collection but also allows for greater automation in your gameplay. By following this guide, you’re well on your way to a thriving farm that will keep your iron supply high.
So, grab your materials, choose a location, and start building! The world of Minecraft awaits, and with your new iron farm, you’ll be more than ready for whatever adventures come your way.

