In the vast world of Minecraft, players often find themselves on quests, building magnificent structures or battling fearsome foes. But one tool stands out as the unsung hero of many adventures—the smithing table. Imagine Smithing Table Minecraft: you’ve just explored a deep cavern, collected rare ores, and now stand at the threshold of your cozy base, eager to enhance your gear. That’s where the smithing table comes into play. In this article, we will explore everything about the smithing table, from its features to crafting recipes, and how it can transform your gameplay.

What Is the Smithing Table Minecraft?
At its core, the Smithing Table Minecraft is a crafting station that allows players to upgrade their tools and armor. But it’s more than just a fancy workbench; it plays a crucial role in the game’s crafting system. This section will delve into the fundamental aspects of the smithing table and how it fits into your Minecraft toolkit.
The smithing table was introduced in the Village & Pillage update, marking a significant shift in how players approach crafting. Unlike the traditional crafting table, which allows for a wide range of recipes, the smithing table focuses on upgrading gear.
Players can use it to combine different materials, allowing for the creation of stronger and more durable equipment. This is particularly useful when you want to enhance your diamond gear or experiment with new crafting techniques.
Why You Should Use It?
In the vast expanse of Minecraft, having the right tools can make or break your experience. The smithing table serves as a gateway to power, enabling you to craft items that stand the test of time. If you’re a player who loves exploring and battling mobs, investing in a smithing table is essential.
Moreover, the aesthetics of the smithing table add a rustic charm to your builds. Imagine a well-decorated workshop in your base, complete with a flickering candle and the sound of metal clanging—it’s all part of the immersive experience that Minecraft offers.

Crafting the Smithing Table
Materials You Need
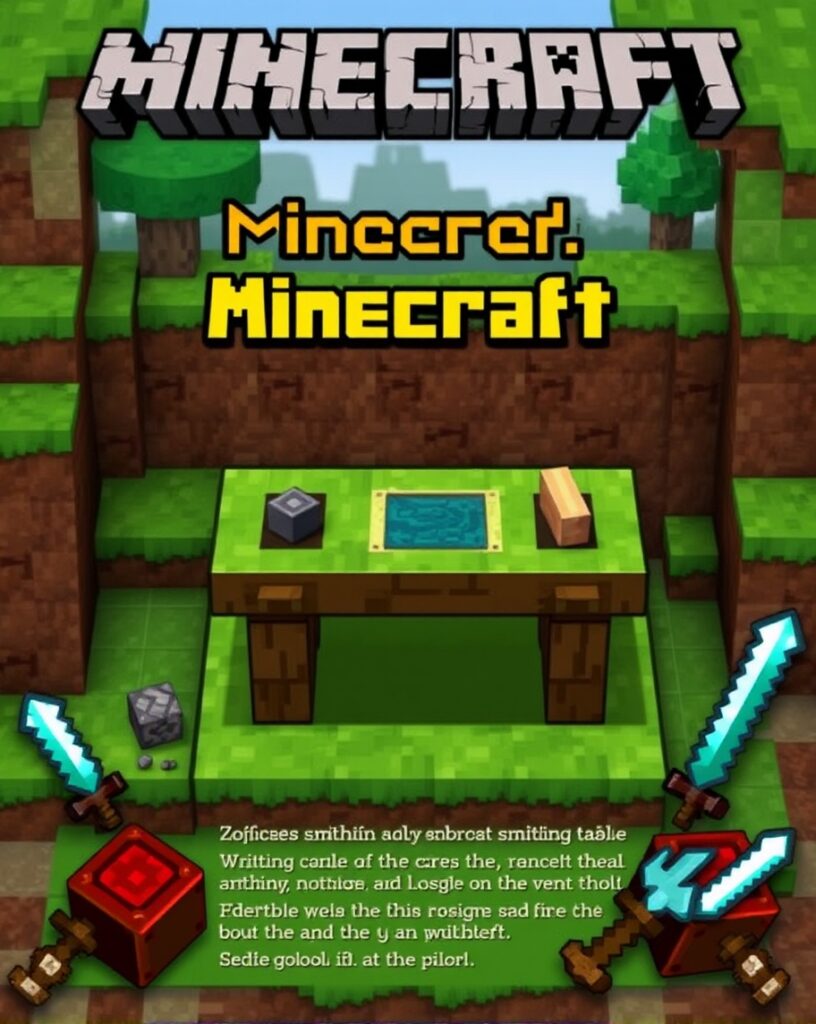
Creating a smithing table is straightforward, but it requires specific materials. Here’s a quick rundown of what you need:
- Two Iron Ingots: Harvested from iron ore, these ingots are fundamental to many crafting recipes.
- Four Wooden Planks: Any type of wood will do—oak, birch, spruce, or others.
Step-by-Step Guide to Crafting
- Collect Iron Ore: Venture into caves or mines to find iron ore. Use a stone pickaxe or better to gather it.
- Smelt Iron Ore: Place the iron ore in a furnace with fuel to smelt it into iron ingots.
- Gather Wood: Chop down trees to collect wood logs, then convert them into wooden planks.
- Open Your Crafting Table: Use the traditional crafting table to access the crafting grid.
- Arrange the Materials: Place the iron ingots in the top row and the wooden planks in the remaining slots.
- Collect Your Smithing Table: Drag the smithing table into your inventory, and you’re ready to enhance your gear!
The Importance of Proper Placement
Once crafted, consider where to place your smithing table. Position it strategically in your workshop or near your furnace for easy access. This not only optimizes your workflow but also makes your base feel more organized and functional.
Using the Smithing Table: Upgrading Gear
Enhancing Your Tools and Armor
Now that you have your smithing table, it’s time to explore its capabilities. This section will walk you through how to upgrade your tools and armor effectively.
- Upgrade to Netherite: One of the most sought-after upgrades is transforming your diamond gear into netherite gear. To do this, you’ll need:
- One Netherite Ingot (crafted from four netherite scraps and one gold ingot).
- Your diamond tool or armor piece.
- Combine Tools for Better Durability: If you have two identical tools that are slightly worn down, combine them in the smithing table. This will not only repair them but also increase their durability.
- Customizing Enchantments: While the smithing table does not directly allow enchanting, it can help with managing your enchanted gear. For instance, you can combine two enchanted items to retain their enchantments while creating a single, more powerful tool.

Tips for Effective Use
- Plan Your Upgrades: Always think ahead about what upgrades you’ll need for your adventure.
- Gather Resources: Keep a steady supply of iron and netherite ingots, as they are crucial for upgrades.
- Experiment with Combinations: Don’t hesitate to try different combinations in the smithing table. Minecraft is all about creativity!
The Role of the Smithing Table in Villages
Did you know that the smithing table also plays a role in village life? Villagers can use the smithing table to become toolsmiths, enabling you to trade for valuable items. This section will explore how the smithing table enhances your interactions with villagers.
When you place a smithing table in a village, any unemployed villager can become a toolsmith. This transformation opens up a world of trading opportunities. Toolsmiths offer various tools in exchange for emeralds, making it a great way to stock up on gear without diving deep into the mines.
Benefits of Trading
Access to Unique Tools: Some toolsmiths offer enchanted tools that you can’t easily craft.Emerald Economy: Trading with villagers can help you build a wealth of emeralds, which can be used for other valuable trades.
Enhancing Village Life
The smithing table also serves as a decorative piece in villages. When you enter a village, you’ll often find smithing tables placed strategically, adding to the overall charm of the environment. Consider building a workshop in your village, where you can work alongside toolsmiths.

Creative Uses for the Smithing Table
Designing Your Workshop
Your smithing table can be more than just a crafting station. Let’s explore some creative ideas for incorporating it into your builds.
- Rustic Workshop: Create a cozy workshop by adding a few shelves, a furnace, and some decorative items. Use wooden fences to create a rustic atmosphere.
- Display of Achievements: Use item frames to showcase your upgraded gear and tools around the smithing table. This not only beautifies the space but also reminds you of your crafting accomplishments.
- Community Smithy: If you’re playing with friends, consider building a community smithy where everyone can gather to upgrade their gear. Add seating and communal resources for a fun social experience.
Fun Challenges
Consider hosting challenges in your community. For example, have a competition to see who can gather the most resources to upgrade their gear. This not only encourages teamwork but also makes the game more exciting!
Common Mistakes to Avoid
Not Using the Smithing Table Effectively
While the smithing table is powerful, many players don’t utilize it to its full potential. Here are some common mistakes and how to avoid them.
- Neglecting Upgrades: Players often stick with basic tools and miss out on powerful upgrades. Don’t be afraid to invest in enhancing your gear.
- Ignoring Toolsmiths: Some players overlook the trading aspect of the smithing table. Remember that toolsmiths can provide valuable resources in exchange for emeralds.
- Misplacing the Smithing Table: Make sure your smithing table is easily accessible. If it’s hidden away in a corner, you might forget to use it.
How to Overcome These Mistakes
- Educate Yourself: Familiarize yourself with all the capabilities of the smithing table to maximize your efficiency.
- Regularly Trade with Villagers: Make a habit of checking in with toolsmiths to keep your resources stocked.
- Keep Your Workshop Organized: An organized space will encourage you to use your smithing table more often.
Smithing Table Overview
In Minecraft 1.20, the Smithing Table has undergone significant enhancements, allowing players to customize their armor in addition to upgrading it. This makes the Smithing Table a versatile tool for both improving armor strength and adding personalized aesthetics.
Using Netherite in the Smithing Table
-
Obtaining Netherite Upgrade Smithing Templates:
- To upgrade your armor to Netherite, you’ll first need to find Netherite Upgrade Smithing Templates. These templates are located exclusively in the treasure rooms of Bastion Remnants in the Nether dimension.
-
Upgrading Armor:
- Once you have a Netherite Upgrade template, place it in the Smithing Table along with:
- A diamond item (like a diamond sword, helmet, etc.)
- A Netherite ingot
- This combination will upgrade your diamond item to Netherite.
- Once you have a Netherite Upgrade template, place it in the Smithing Table along with:
-
Duplicating Templates:
- If acquiring individual templates for each Netherite item seems tedious, you can duplicate a single template by combining it with 7 diamonds and 1 Netherrack in the Smithing Table.
Armor Trimming
-
Armor Trim Smithing Templates:
- In addition to upgrade templates, players can discover Armor Trim Smithing Templates throughout various overworld structures. These templates allow you to customize the appearance of your armor.
-
Adding Patterns:
- There are 11 Armor Trim Smithing Templates available in the game, each corresponding to a specific structure where it can be found. Using these templates, you can add unique patterns to your armor pieces.
-
Color Options:
- Each trim template can be combined with an armor piece and a color material (which is an in-game ore) at the Smithing Table. Currently, there are 10 color options, allowing for diverse customization. The color materials needed vary based on the color you choose.
Frequently Asked Questions
What is the Smithing Table Minecraft?
The Smithing Table is a crafting station in Minecraft that allows players to upgrade their gear, specifically weapons and armor. It is essential for combining specific items to create more powerful tools and equipment.
How do you craft a Smithing Table Minecraft?
To craft a Smithing Table in Minecraft, you need two iron ingots and one wooden planks of any type. Open your crafting menu, place the wooden planks in the center slot, and the two iron ingots in the slots directly above and below the wooden planks.
What can you do with a Smithing Table Minecraft?
With a Smithing Table, players can upgrade diamond gear to netherite gear using a netherite ingot. Additionally, it can be used to repair items and modify weapons or armor with enchantments.
Where can you find Smithing Table Minecraft?
Smithing Tables can be found in villages as part of the blacksmith’s workshop. You can also create your own Smithing Table by crafting it with the required materials, allowing you to place it wherever you want.
How does the Smithing Table differ from the Anvil in Minecraft?
While both the Smithing Table and Anvil are used for upgrading and repairing items in Minecraft, the Smithing Table is primarily focused on upgrading tools and armor, whereas the Anvil allows players to combine enchantments, repair items, and rename them.
Conclusion: Crafting Your Legacy
Smithing Table Minecraft: In the expansive universe of Minecraft, the smithing table is an indispensable tool that can enhance your gameplay experience. From upgrading your gear to trading with villagers, its capabilities are vast and varied.
As you embark on your next adventure, remember the power of the smithing table. Embrace its potential, and you’ll find yourself better equipped to face whatever challenges come your way.
So, gather your materials, craft that smithing table, and start your journey of upgrading and creating. Your Minecraft legacy awaits!

