Imagine you’re deep in your Minecraft world, carefully constructing a frozen paradise, only to find that the ice blocks you’ve placed start to freeze over again and again. Frustrating, right? I remember this one time, I built an entire ice castle, thinking it was flawless. I came back the next day, and the ice pathways were thickened with frost. Not only did it ruin the aesthetic, but it also created obstacles for me to walk on. And trust me, you don’t want your Minecraft ice-skating rink to become a bumpy road! So, how do you stop that from happening?
Why Ice Freezes in Minecraft
Before we get into how to prevent it, let’s first understand why ice freezes in Minecraft. In the game, certain biomes, like tundras and snowy plains, have cold climates that cause water to freeze into ice blocks. These icy biomes reflect real-life physics—at least to some extent—and simulate freezing temperatures that transform water into ice. Light sources and the biome’s temperature are factors that influence the freezing process.
The key here is that light level plays a major role. Ice forms in Minecraft when the light level is below 11 in cold biomes, so managing light around your structures becomes crucial if you don’t want that annoying ice to return.

How to Prevent Ice from Freezing Minecraft
So, how do we stop ice from freezing in Minecraft? It’s actually not too difficult once you know what tools you have at your disposal. Below are the most effective ways to handle it.
Increase Light Sources
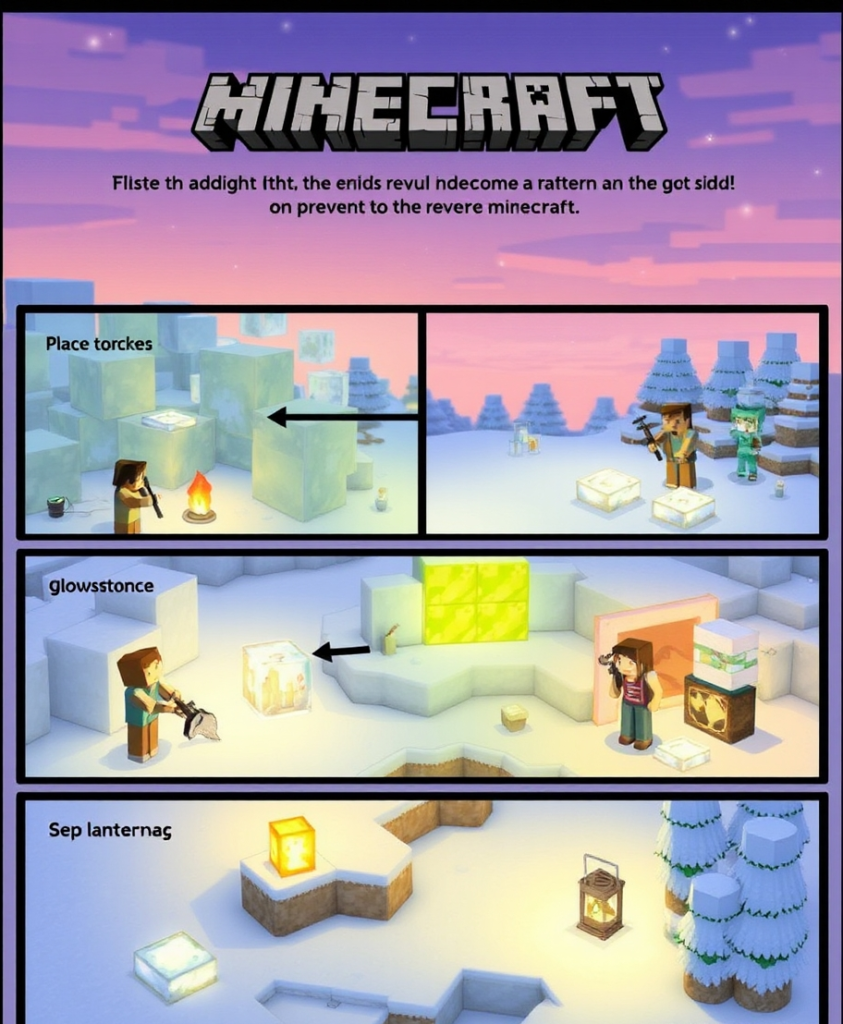
One of the simplest and most effective ways to prevent ice blocks from freezing is to increase the surrounding light. Remember that ice only forms when the light level drops below 11. That means if you place torches, glowstone, or other light sources near the water, you can prevent freezing entirely.
Step-by-Step: How to Add Light to Prevent Freezing
- Identify the area where ice keeps forming.
- Place torches or other light-emitting blocks like glowstone or sea lanterns around the water or ice.
- Make sure the light level around your water is above 11. You can use the F3 key to check the light level in the game.
By adding more light sources, you’re essentially turning your Minecraft world into a cozy, ice-free zone.
Build in Warmer Biomes
Sometimes, the easiest way to deal with ice blocks freezing is by not building in cold biomes at all! Warm biomes, like deserts or jungles, don’t have the freezing mechanics that cold biomes do. So, instead of constantly battling against nature, why not move your operation to a warmer climate?
You can still build your ice structures in these warm biomes, and they won’t freeze over. It’s a creative solution if you’re tired of dealing with the constant hassle of light placement. Trust me, it’s like moving from Alaska to Florida—no more snow, no more ice, and a lot more freedom to build!
Cover Water with Slabs or Transparent Blocks
Another trick that veteran Minecraft builders use is covering water with slabs, glass, or other transparent blocks. This stops the water from interacting with the cold air above, effectively preventing it from turning into ice blocks.
Step-by-Step: How to Cover Water to Prevent Ice Formation
- Place your water source blocks as usual.
- Immediately cover the water with slabs, glass panes, or other transparent blocks.
- Double-check that the water remains liquid and doesn’t start freezing.
This is a great solution for those who don’t want their builds ruined by excessive lighting or who prefer to build in cold biomes.

Understanding Light Levels in Minecraft
The key to stopping ice from forming really boils down to mastering the light level mechanics in Minecraft. As mentioned earlier, ice forms when the light level drops below 11. But there’s more to it.
Different light sources emit varying levels of light. For example, a torch emits a light level of 14, while a block of glowstone emits a light level of 15. This means you can strategically place light sources to ensure your entire area stays frost-free.
You can press F3 to see the light levels in different parts of your build. You’ll want to make sure that your light sources are close enough to maintain a high light level around your ice blocks.
Common Mistakes and How to Avoid Them
Now, no tutorial would be complete without pointing out some of the common mistakes players make when trying to stop ice from freezing. Here are a few things to avoid:
Not Placing Enough Light
Many players think that one or two torches are enough to keep an entire lake from freezing, but this is rarely the case. You need to distribute light sources evenly around the area to maintain a light level above 11 everywhere. Don’t skimp on the torches!
Building in Biomes That Are Too Cold
Even with plenty of light, some players insist on building in extremely cold biomes like snowy mountains. The constant snow and frost make it difficult to keep ice blocks from forming. Unless you’re up for the challenge, it’s best to pick a more temperate location.
Forgetting to Check Light Levels
This one is easy to overlook. Always check your light levels after placing light sources. Pressing F3 in-game can help you ensure you have enough lighting to prevent ice from forming.

Can Mods Help Prevent Ice From Freezing?
If you’re still not happy with the vanilla game mechanics, you might consider using mods to tweak how Minecraft handles ice blocks. Several mods allow you to customize the temperature and freezing mechanics in the game.
For example, mods like “No Ice Freeze” or Weather Mods let you control biome temperatures or turn off freezing altogether. Just be sure that whatever mod you download is compatible with the current version of Minecraft that you’re playing!
Frequently Asked Questions
How to prevent ice from freezing Minecraft?
To prevent ice blocks from freezing, you can place a block that emits light, such as a torch or glowstone, near the ice. Ice blocks will not freeze if they are within a certain range of light levels (at least 12).
Does water affect ice freezing?
Yes, water plays a crucial role in ice formation. If water is exposed to light levels below 12 and is adjacent to a block with a temperature below 0°C, it can freeze into ice. Keeping water away from these conditions can help prevent ice from forming.
Can I use blocks to block ice from freezing?
Yes, placing non-solid blocks (like slabs or stairs) above or around the ice can prevent it from freezing. These blocks will block the light levels from reaching the ice and also can help maintain higher temperatures around the ice.
What biomes are most likely to cause ice to freeze?
Ice tends to freeze more readily in colder biomes, such as snowy tundras or ice plains. To prevent ice from freezing in these areas, consider using light-emitting blocks or building structures that can provide warmth.
Are there any game modes or settings that can affect ice freezing?
In Creative mode, players have more control over environmental factors, including ice behavior. However, in Survival mode, ice freezing is affected by light levels and biome temperature. If you want to keep ice from freezing, ensure that you manipulate these environmental factors appropriately.
Final Thoughts: Taming the Frost in Minecraft
To wrap it all up, How to Prevent Ice from Freezing Minecraft, whether through lighting, strategic building locations, or using mods. My advice? Experiment with the different techniques and find out what works best for your specific build.
That ice castle I mentioned earlier? After adding some glowstone and strategically covering certain parts with glass, I was able to maintain its icy beauty without the constant threat of freezing. Now, I can glide around without a single hiccup, and you can too!
So, the next time you find yourself struggling with ice blocks that won’t stop freezing, remember: light sources, warm biomes, and slabs are your best friends. Happy building, and may your Minecraft world remain ice-free!

